Making your own maple syrup at home is a delightful and rewarding experience. Not only does it allow you to enjoy a delicious natural sweetener, but it also connects you with the age-old tradition of maple sugaring. This guide will take you through the essential steps to create your own maple syrup, ensuring you have all the information you need to get started.
| Step | Description |
|---|---|
| 1 | Gather Your Supplies |
| 2 | Choose Your Maple Trees |
| 3 | Tapping the Trees |
| 4 | Collecting the Sap |
| 5 | Boiling the Sap |
| 6 | Filtering the Syrup |
| 7 | Bottling Your Syrup |
Gather Your Supplies
Before you start the maple syrup-making process, it’s essential to gather all the necessary supplies. You will need a few specific tools such as taps, buckets, a drill, a thermometer, and a large pot for boiling. Additionally, make sure to have some cheesecloth or a syrup filter for the final filtering process. Having everything prepared ahead of time will make the entire process smoother and more enjoyable.

Choose Your Maple Trees
The best trees for maple syrup production are sugar maples, red maples, and black maples. Sugar maples are particularly valued for their high sugar content in the sap. Look for trees that are at least 12 inches in diameter and are healthy. The optimal time to tap trees is in late winter or early spring when daytime temperatures are above freezing and nighttime temperatures drop below freezing, as this temperature fluctuation encourages sap flow.

Tapping the Trees
Once you have selected the right trees, it’s time to tap them. Use a drill to create a hole about 2-3 inches deep in the tree, angled slightly upward. Insert the tap into the hole and hang a bucket or bag to catch the sap. It’s crucial to avoid damaging the tree during this process, so ensure that your holes are clean and shallow. Typically, one tap is sufficient for trees up to 18 inches in diameter; larger trees can accommodate two taps.

Collecting the Sap
After tapping the trees, sap collection begins. Depending on the weather, you may need to collect sap every few days. The sap is a clear liquid that resembles water but has a slightly sweet taste. Make sure to check your buckets regularly, as they can fill up quickly during peak flow days. It’s best to collect the sap in the morning when temperatures are still cool to ensure freshness.

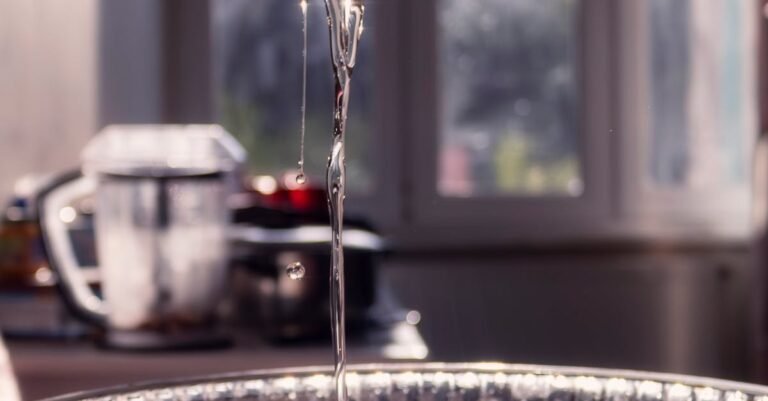
Boiling the Sap
Boiling the sap is where the magic happens. The sap must be boiled down to evaporate the water content, leaving behind the sweet syrup. This process requires patience, as it can take approximately 40 gallons of sap to produce just one gallon of syrup. Use a large pot or a dedicated evaporator if you have access to one. Maintain a steady boil and monitor the temperature. The syrup is ready when it reaches 219°F, which is 7°F above the boiling point of water.

Filtering the Syrup
Once the syrup has reached the correct temperature, it needs to be filtered to remove any impurities or sugar sand that may have formed during boiling. Pour the hot syrup through cheesecloth or a syrup filter to ensure it is clear and free of any particles. This step is crucial for achieving a high-quality syrup that looks and tastes great.

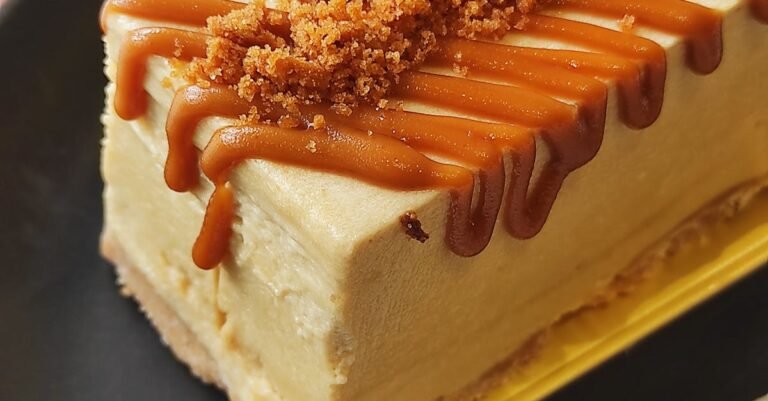
Bottling Your Syrup
The final step is bottling your syrup. Make sure to use sterilized glass jars or bottles to store your syrup. It’s best to bottle the syrup while it is still hot to create a vacuum seal, which will help preserve its freshness. Once bottled, allow the syrup to cool before storing it in a cool, dark place. Properly stored maple syrup can last for several years.

FAQ
What type of trees can be tapped for maple syrup?
You can tap sugar maples, red maples, and black maples. Sugar maples are preferred due to their higher sugar content.
When is the best time to tap maple trees?
The best time to tap is in late winter to early spring when temperatures fluctuate between freezing and thawing. This encourages sap flow.
How much sap do I need to make maple syrup?
It takes approximately 40 gallons of sap to produce one gallon of maple syrup due to the high water content in sap.
Can I make maple syrup without a special evaporator?
Yes, you can use a large pot on a stovetop or outdoor burner. However, a dedicated evaporator makes the process more efficient.
How should I store my homemade maple syrup?
Store your syrup in sterilized glass jars or bottles in a cool, dark place. Properly sealed syrup can last for several years.
References:
– [Vermont Maple Sugar Makers Association](https://vermontmaple.org)
– [USDA National Agricultural Library](https://nal.usda.gov)